


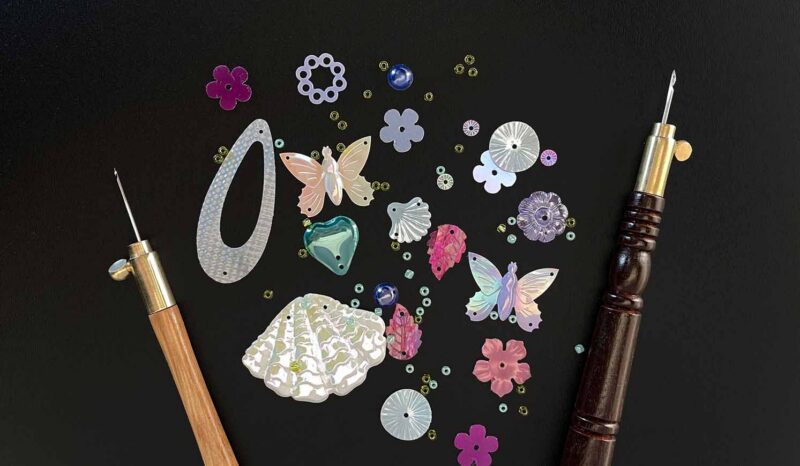
As the #1 in-person store for tambour supplies in the U.S., we naturally get a lot of questions about tambour embroidery here at Maydel. Maybe you’ve seen a tambour artist on social media skillfully and quickly embellishing fabric with beads and sequins, and you want to know, “how can I do that, too?” And maybe, like many of our customers, you tried to learn tambour via online videos and quickly hit a wall. We’re here to tell you—it’s not just you!
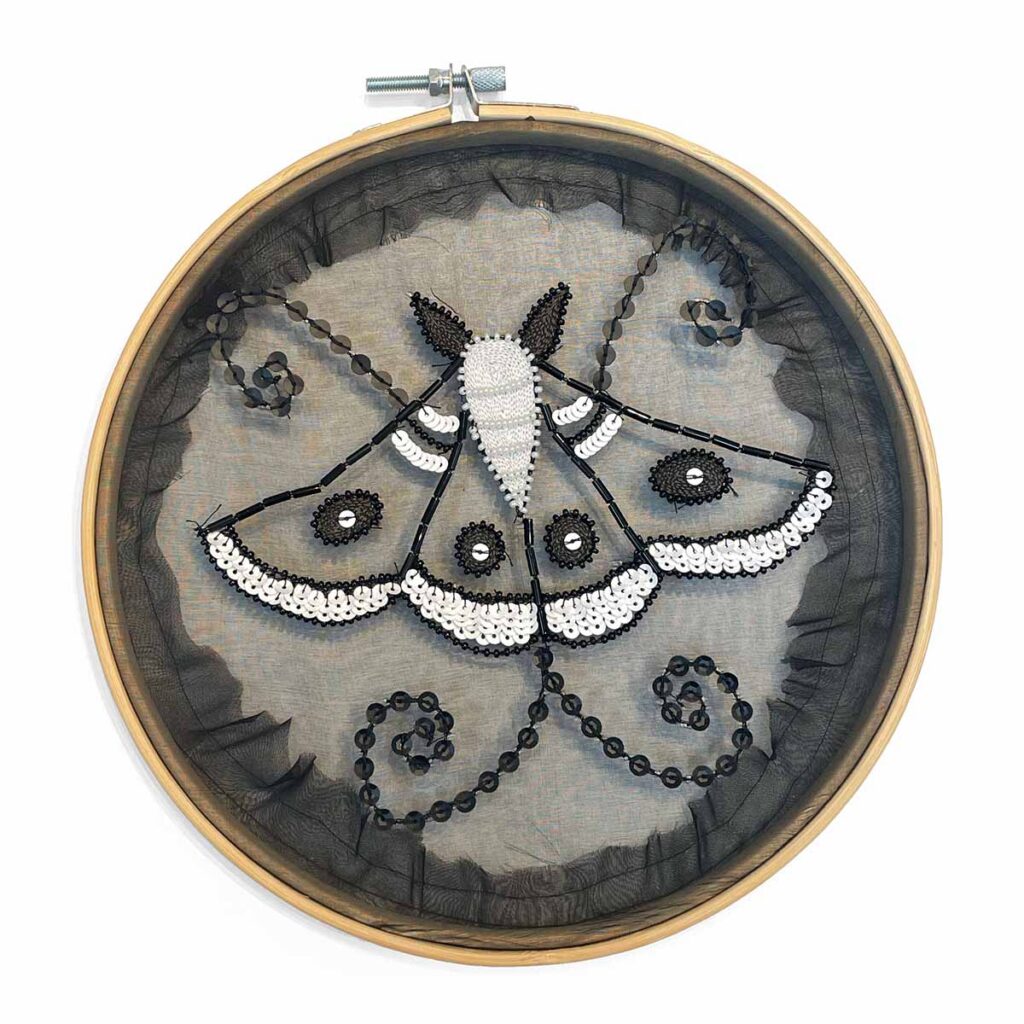
Tambour Moth designed and stitched by our senior instructor, Lauren Yeager, of Elba Embroidery
Yes, tambour embroidery requires dexterity and practice to master, but after hosting tambour classes at Maydel for years, we’ve discovered that the biggest impediment to learning this craft is online misinformation—especially the mixing up of tambour embroidery with aari embroidery, which are similar techniques but are not identical or interchangeable. To help untangle the things that most frequently trip people up, we’re laying out the differences between aari and tambour, their similarities, and when it matters.
What are tambour and aari embroidery?
Tambour and aari are techniques that use a special needle to do chain stitch embroidery in a fast and ergonomic way. Both techniques can be used to create threadwork designs or to efficiently attach beads and sequins in various patterns.
Are tambour and aari embroidery the same thing?
Nope—and this is where the trouble often starts. The #1 reason we see people struggle with tambour embroidery is that aari and tambour are often referred to interchangeably or lumped together as a single technique. Though tambour and aari are related (tambour is derived from aari), they are not the same thing—tambour and aari use different techniques and different tools, especially when it comes to beading.
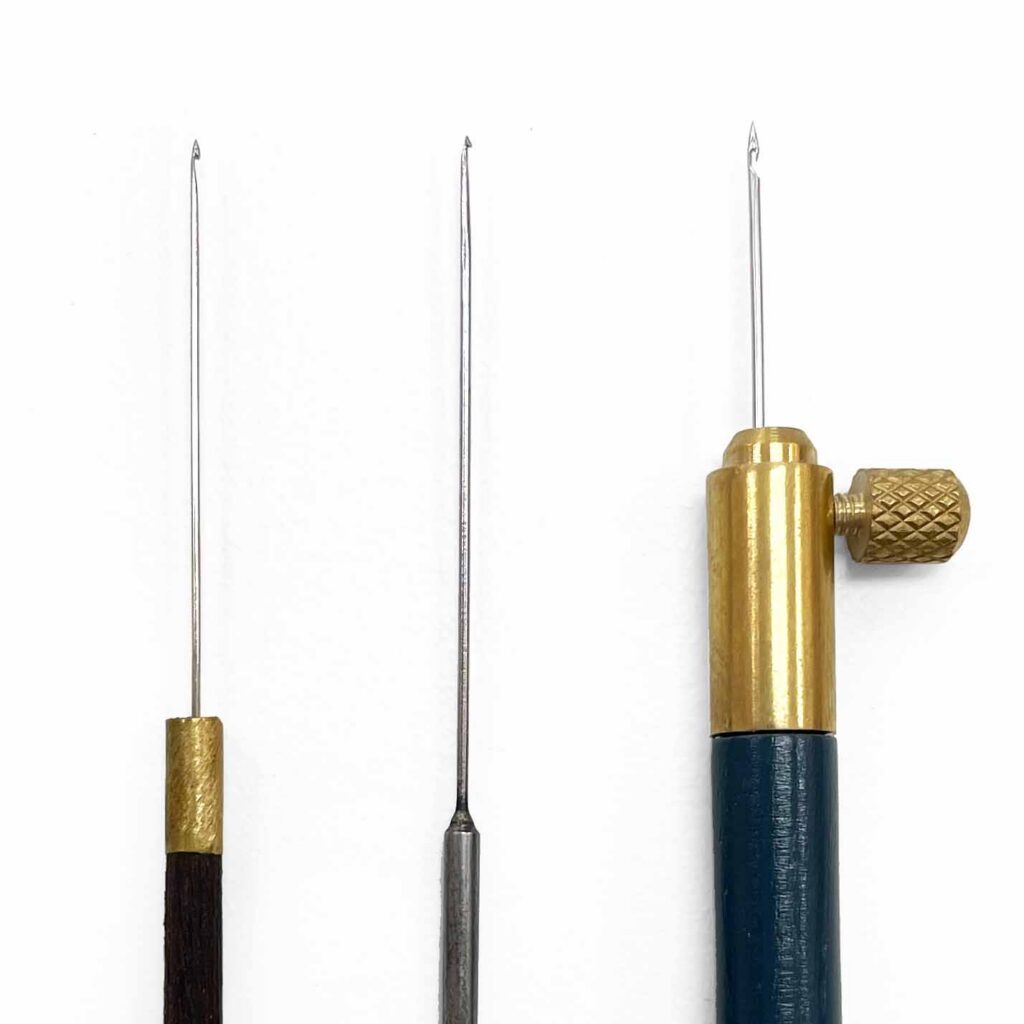
From left to right: thin aari needle (primarily for beading), thicker aari needle (primarily for thread work), tambour handle with size 70 needle (smallest diameter)
What is aari embroidery?
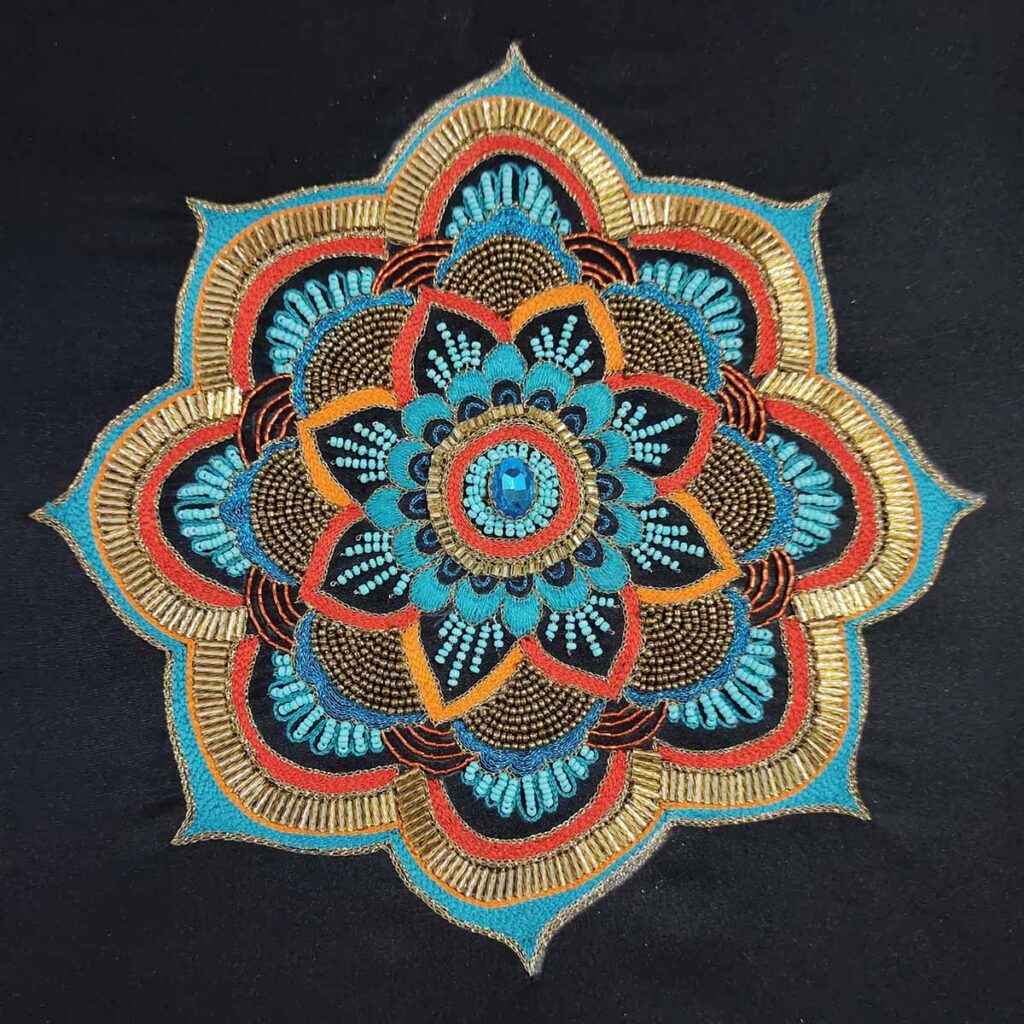
Aari embroidery mandala by Vinuta Sandeep of Vinuta’s Aari Studio
Aari embroidery developed many centuries ago and has been found across Asia and the Middle East, but it is most closely associated with embroidery work done in India, starting during the Mughal era around the 12th century and centered around the Gujarat region. “Aari” comes from a Hindi word that means “hook” and refers to the special hooked needle used by aari embroiderers.
An aari hook is a long, thin needle with a shelf cut into it that’s designed to grab onto a thread and pull it through beads or fabric. Most aari needles have handles permanently attached to them to make them easier to manipulate.
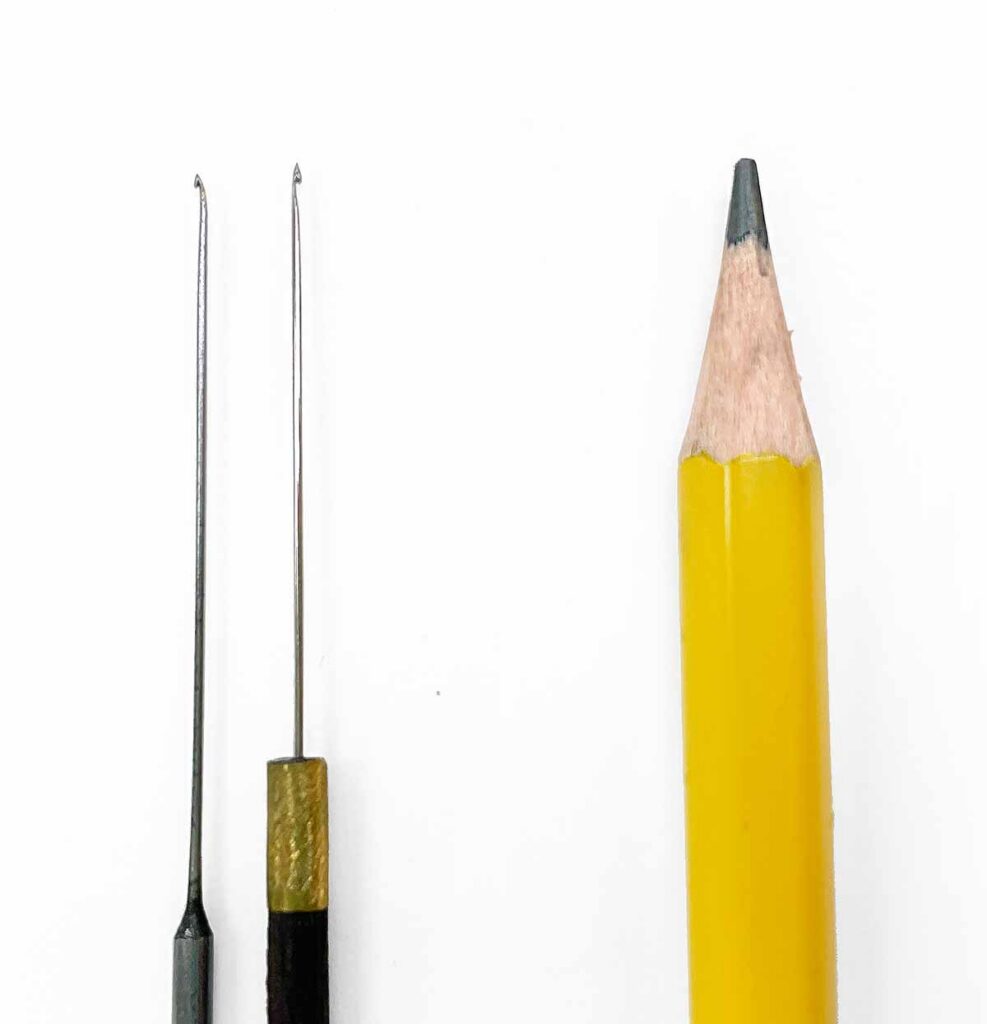
Aari is worked on the top side of fabric that is typically stretched taut in a frame. Thicker aari needles are used for threadwork, especially with gold or metallic threads, and very fine needles are used for beadwork. To do aari beadwork, you first thread your beads or sequins onto the aari needle, then slide one or two at a time onto the thread with each stitch. Since aari beadwork needles need to be fine enough to fit inside the smallest beads (look how much finer they are than the tip of a pencil!), they can bend easily and need a lot of practice to master.
How is tambour embroidery different from aari?
Tambour was adapted from aari in various parts of Europe beginning in the 18th century. The word “tambour” means “drum” in French and refers to how tightly the fabric is stretched. Tambour was perhaps made most famous by the town of Lunéville, France, around 1810, so it is also sometimes referred to as “Lunéville embroidery.”
Unlike aari, tambour embroidery is worked on the underside of the fabric, with shorter, thicker needles. Tambour needles have a true hook shape (in contrast to the shelf shape of aari needles) and range in size from 0.7mm to 1.4mm in diameter (once upon a time they were made as small as 0.6mm). They are also used with ergonomic handles but the needles are not permanently attached; a tambour handle can be used interchangeably with all sizes of needles and you can adjust the needle’s length within the neck of the handle. The phrase “tambour hook” usually refers to the combination of the handle with a needle inside.
Though the bigger size can make tambour hooks easier to control than aari needles, tambour needles can’t fit inside most beads. In tambour embroidery, therefore, beads and sequins must be pre-strung, and are attached to the fabric by stitching down the stringing thread between each bead.
Still confused? Here’s a chart to help break it all down:
| Tambour | Aari |
|---|---|
| Worked underneath the fabric | Worked on top of the fabric |
| Shorter, thicker needles with a hook shaped tip | Long, thinner needles, with a shelf-shaped tip |
| Needles fit interchangeably into handles | Needles are permanently attached to handles |
| Length of needle is adjustable | Length of needle is fixed |
| Requires strung beads and sequins | Requires loose beads and sequins |
| Beads are attached by stitching down stringing thread between beads | Beads are attached by threading them individually with each stitch |
| Adapted in Europe beginning in the 18th century | Developed in Asia during the Middle Ages |
| Tools are easier to control; work is harder to see. | Tools are harder to control; work is easier to see. |
Want to see the difference in action? Kat Waters of Kat Makes has a brilliant video showing the difference between tambour and aari stitching magnified about 20X.
Wait—did you say tambour is stitched underneath the fabric? How does that work?
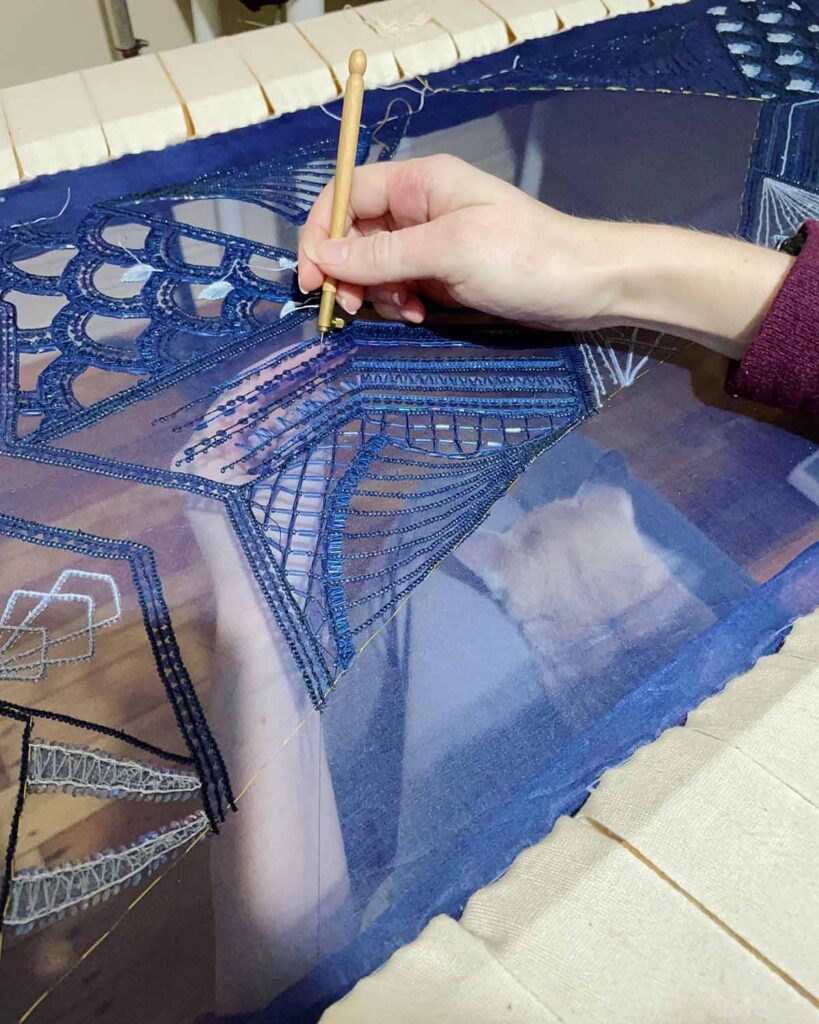
Tambour piece being worked by Kat Waters of Kat Makes
Unless you’re skilled enough to do tambour embroidery entirely by feel, you will need to work on a sheer fabric that lets you see through it (at least somewhat) to what you’re doing underneath. Organza is therefore an extremely popular choice for tambour fabric, since it’s sturdy, fairly easy to see through, and has no natural stretch. Once a piece of tambour work is finished, it’s typically cut out of the organza (with a seam allowance) and sewn to a garment or other ground fabric as an appliqué.
Can you use tambour tools for aari work?
Only in a limited way. Many people, especially beginners, want to combine the best of both worlds and use the easier-to-control tambour hooks with the easier-to-see aari technique. As long as you’re only doing threadwork or using larger beads, it’s possible to do aari embroidery with a tambour hook, but the smallest widely available tambour needle (0.7mm) will only fit inside size 11 beads or larger. If you want to work with smaller beads or most sequins, you’ll need to bite the bullet and either learn the tambour technique or start working with aari needles.
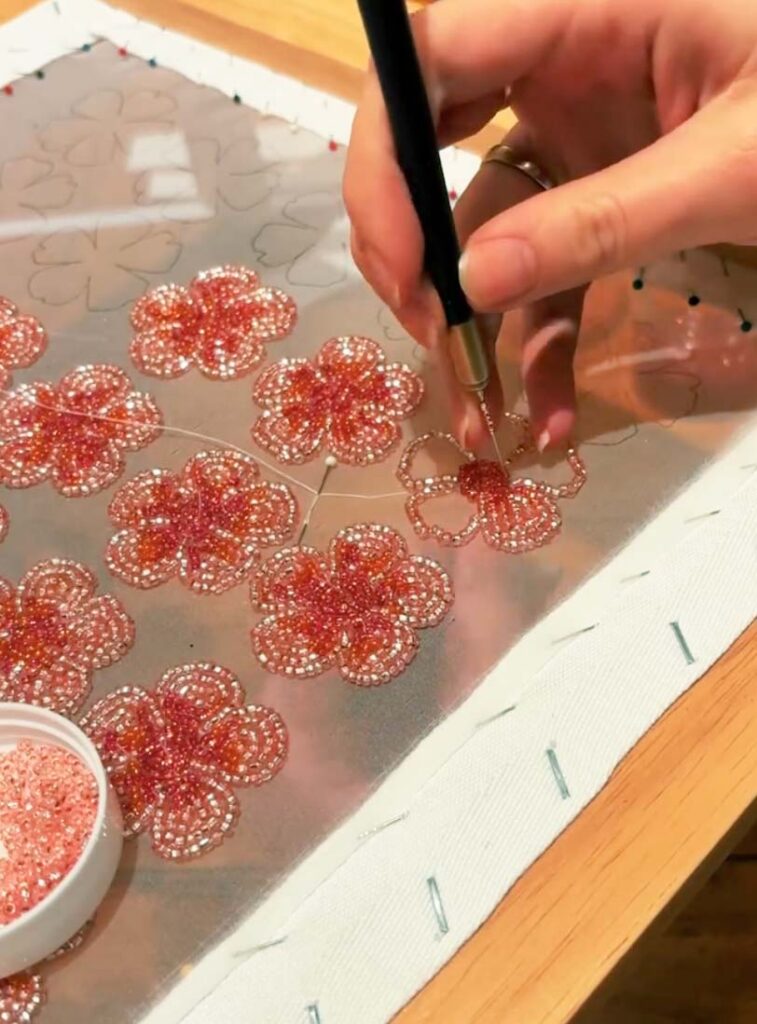
Aari embroidery done with a tambour hook by couture fashion designer Emma Rubinson
What tools do I need to get started with tambour?
To get started with tambour embroidery, you will need the right needles, thread, and fabric, as well as a hoop or frame to hold the fabric taut. More so than with most other embroidery techniques, your materials can have a big effect on your stitching, so make sure to start with good quality tools.
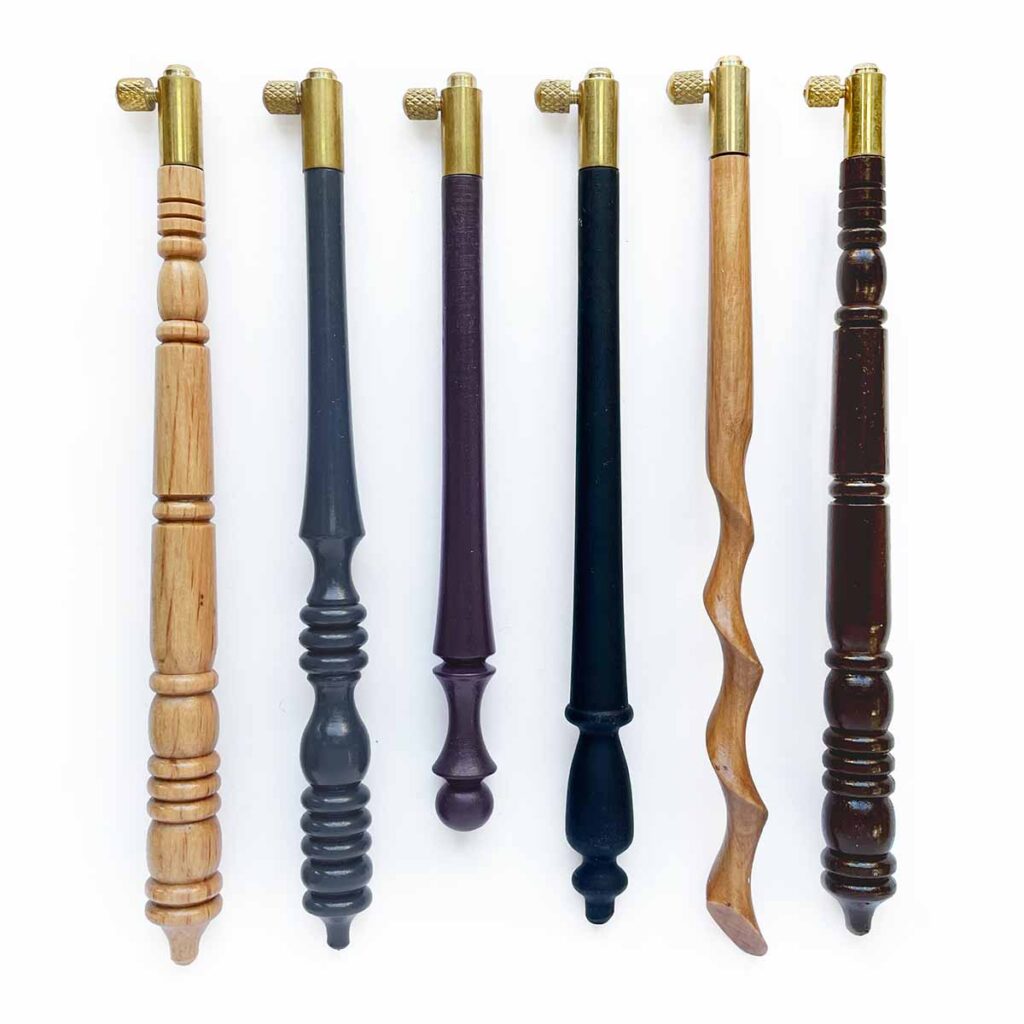
- Needles: you will need specialized tambour hook needles, such as those made for chain stitch or cornely machines. Our favorite needles are the ones made by Schmetz. We recommend starting with three needles: one each in sizes 70, 90, and 110 or 120 should cover just about every type of tambour project you might want to try.
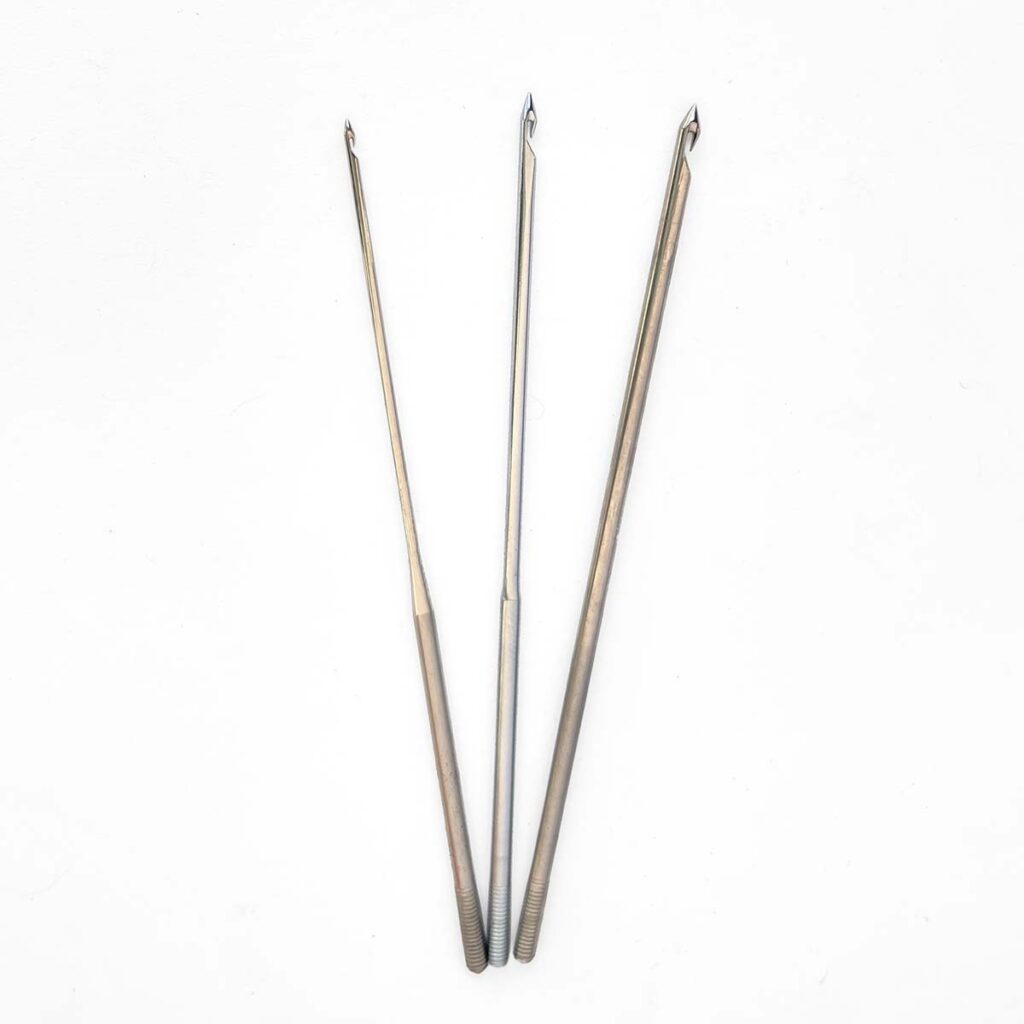
You will also need a tambour handle to hold your needle. Maydel tambour handles are designed in partnership with tambour author and instructor Bob Haven and are drilled extra deep so you don’t need to trim your needles. This also allows you to extend your needles to their maximum length should you want to use them for aari techniques.
- Thread: you can use most any thread for tambour embroidery, but there are a few considerations that will make the process easier for a beginner. Firstly, you will want to match the size of your thread to the size of your needle. Every stitch makes a hole in your fabric that holds a doubled loop of thread, so the diameter of your needle should be slightly less than double the diameter of the thread. Secondly, avoid slippery and/or double twisted threads like satin/rayon or perles since they have a tendency to untwist and slip out of the needle. Lastly, sturdier threads like pre-waxed cotton or polyester sewing threads will be less likely to break against the edge of the hook or sharp beads.
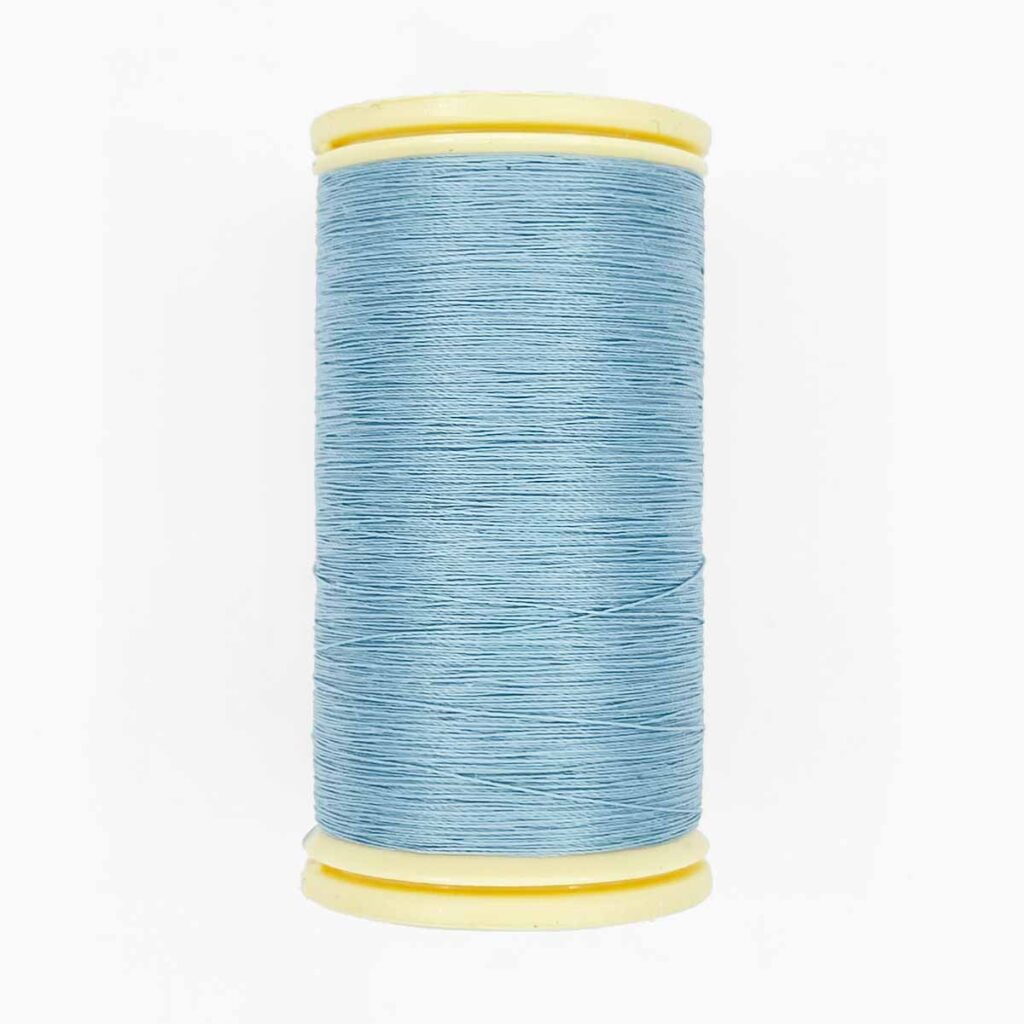
Our favorite threads to use for tambour embroidery are Sajou’s Fil Au Gant threads, which are made for tambour embroidery and can be used for both fine decorative stitching and attaching beads or sequins. Regular polyester sewing thread or single-twist threads like DMC floche can also be good options.
- Fabric: since you will be working on the underside of the fabric, you will need to use a fabric that’s strong, has no stretch, and that you can see through. We therefore recommend that beginners use organza. Maydel carries two types of organza: affordable 100% recycled polyester organza (made in Japan from reclaimed soda bottles) and luxurious peace silk organza (made in India on an organic farm).
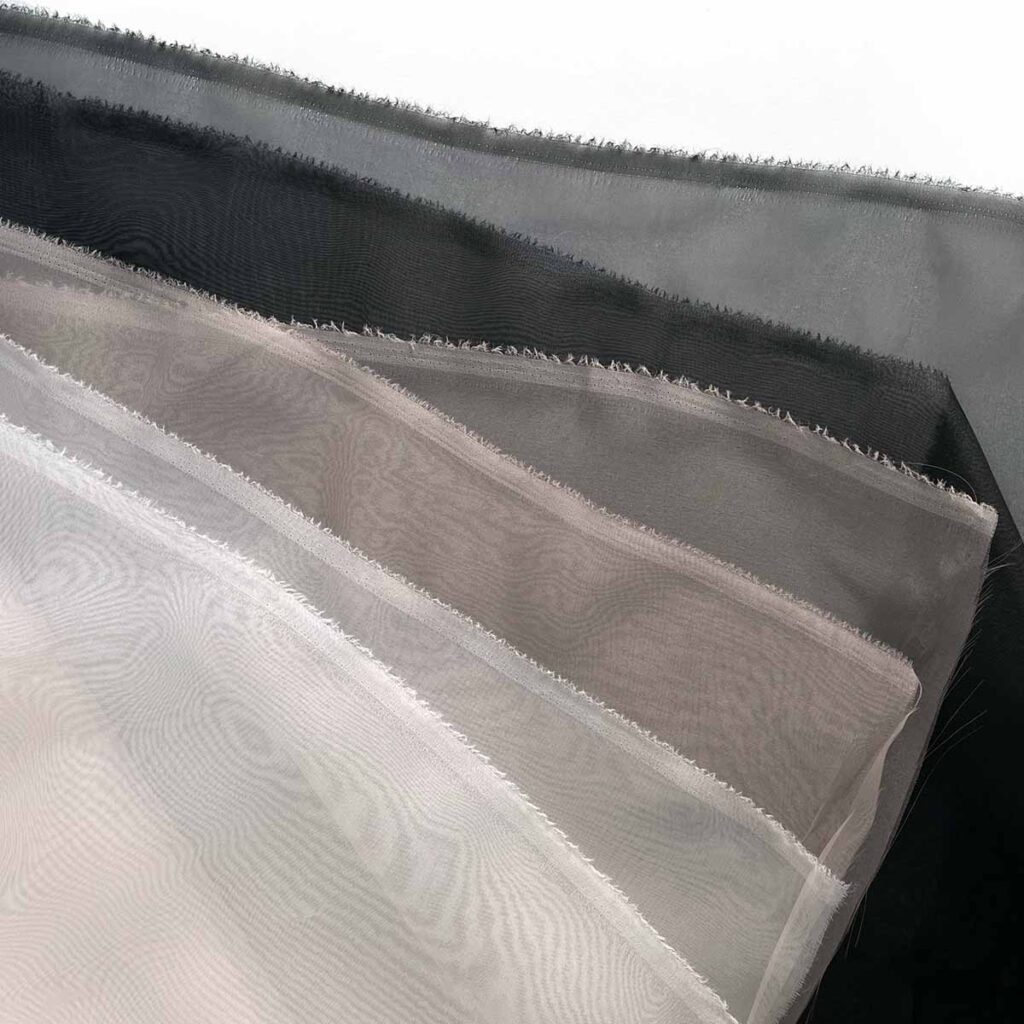
Tip: If you’re a beginner, choose fabric and thread colors that are in stark contrast to each other so you can easily see your work as you learn.
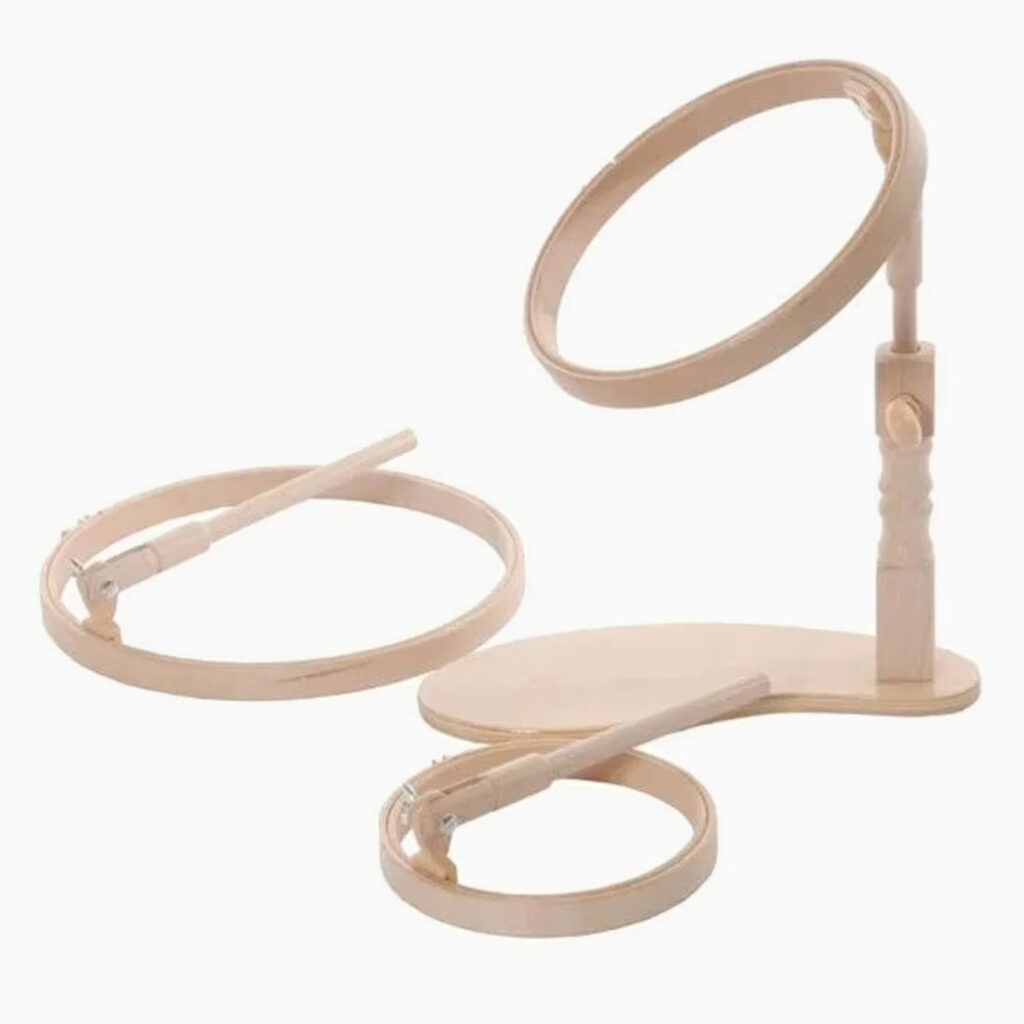
- Hoop or frame: As the name implies, your fabric should be held drum-tight when doing tambour embroidery. Tambour is also a two-handed technique, so your fabric will need to be held in something free-standing. Professional tambour artists typically work on slate frames, which require a complex dressing process, but a beginner can start with a hoop in a stand. We recommend the Elbesee seat frame (or a quilting hoop plus a table clamp) for beginners, with both rings of the hoop wrapped in bias tape for a secure hold.
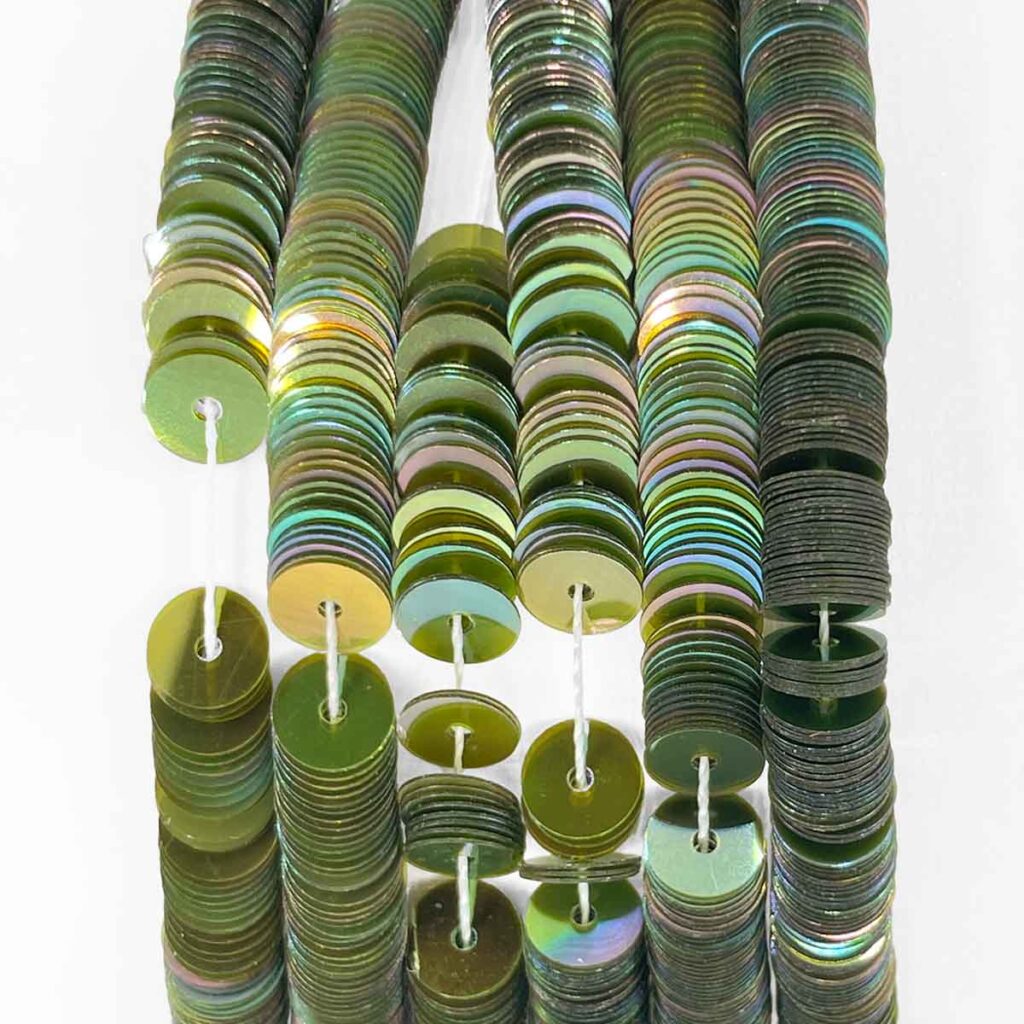
- Beads or sequins: you can use any beads or sequins for tambour embroidery, but they will need to be strung. You can either purchase them already strung or string them yourself. A bead spinner (and bead spinner needle) can make stringing loose beads faster and easier. Maydel carries Langlois Martin sequins, which are made in France and used by many of the famous couture houses. Langlois Martin’s non-metallic sequins are made from plant cellulose rather than fossil fuel-derived plastic. They hold up beautifully to steaming and even home laundering, while also being biodegradable and free from microplastics.
What’s the best way to learn tambour embroidery?
The very best way to learn tambour embroidery is in person with a live instructor and encouraging classmates. Maydel offers two-day introductory tambour classes four times a year in Chicago as well as intermediate workshops and private or group lessons. You can also sometimes find tambour embroidery classes at colleges with fashion or theater programs, or through independent practitioners.
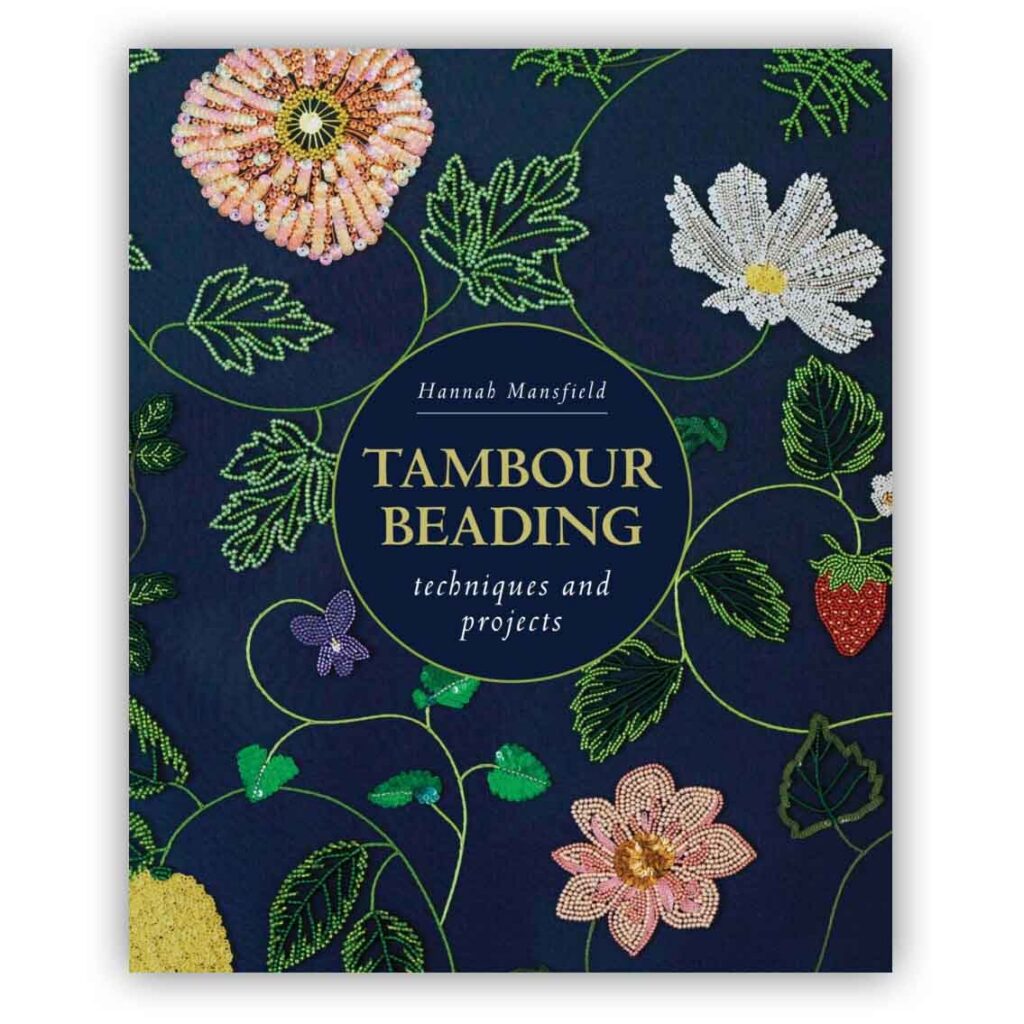
Because tambour uses very precise physical movements, it can be difficult to learn from videos or books. However, once you have the basic technique mastered, books, kits or videos can be good references or reminders. Our favorite current tambour book is Hannah Mansfield’s Tambour Beading Techniques and Projects.
Maydel Comment Policy
All comments are moderated before they are posted. Irrelevant, offensive, or otherwise unhelpful comments will be removed.